
Home Gym on a Budget: Cheapest Way to Replace Your £60-a-Month Membership
You do not need a spare garage, a commercial rack or a suspiciously motivational neon sign to train well at home. A small, thoughtfully chosen starter kit can cover the big movement patterns, remove the monthly direct debit, and leave you with equipment you will still own years later.
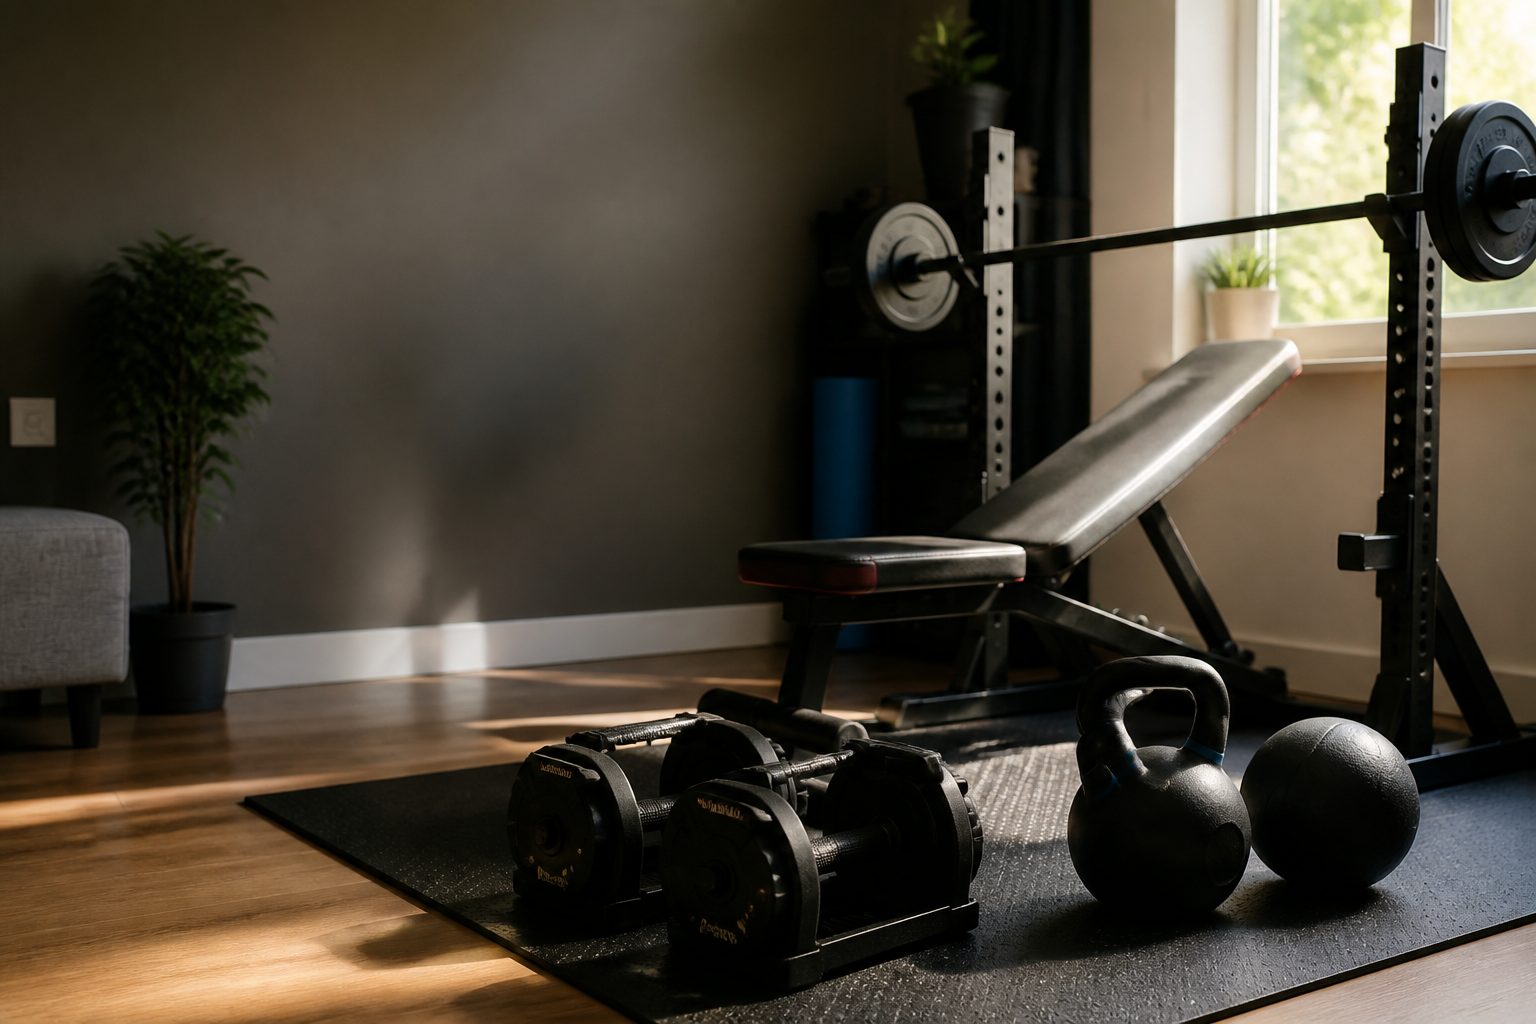
A modest corner of a living room can become a remarkably capable training space when every item earns its place.
 By James Oduya · Staff Writer & Home Gym Columnist · Updated August 22, 2026
1. Start with the slightly uncomfortable maths
A home gym is not automatically cheaper. It becomes cheaper when you use it. That is the whole trick, and it is worth saying before we get carried away buying things with knurled handles.
If you paid around the middle of the usual UK membership range every month, the total over a year soon became meaningful. One estimate put average UK gym membership spending at roughly £533 per year, while two years of fees pushed beyond £1,060. Those sums did not include the occasional locker charge, the coffee bought because you had arrived too early, or the commute that somehow required a pastry afterwards. The gym itself was not the problem. The invisible extras often were.
The aim here is not to recreate a commercial gym pound for pound. That would be absurd, expensive and hard on a rented-floorboard situation. The aim is to replace the training you actually do: pressing, pulling, squatting, hinging, lunging, carrying, moving your heart rate up a bit, and having a comfortable patch of floor on which to do it.
A basic home setup has historically broken even against a mid-range membership in roughly twelve to eighteen months. More conservative estimates put basic-equipment break-even nearer eighteen to twenty-four months. Both can be true. It depends on what you buy, whether you cancel the membership rather than merely adding home kit to it, and whether your idea of "training at home" survives the first wet Wednesday in November.
The sensible target
Build a kit that lets you train three times a week without needing another purchase. If it does that, it is useful. If it merely gives you a new excuse to reorganise the hallway, it is décor with handles.
2. Audit the membership you are actually replacing
Before buying anything, spend a week noticing what you use at the gym. Not what you imagine you might use in a beautifully productive future. What you really use now.
For many people, the answer is surprisingly short: dumbbells, a bench, a cable machine, perhaps a pull-up station, a few minutes of cardio and a mat. The machines at the far end of the room, with seat settings that require a minor engineering qualification, do not need replacing if you have not touched them since joining.
Write down each movement rather than each machine. A chest press is a horizontal press. A seated row is a horizontal pull. A leg press is a squat pattern. A cable crunch is trunk flexion. Once you think in movements, the home alternatives become obvious and much cheaper.
Horizontal push
Push-ups, floor presses and band presses can cover chest, shoulders and triceps without requiring a dedicated chest machine.
Horizontal pull
One-arm dumbbell rows, bent-over rows and band rows replace much of what people use a seated cable row for.
Leg training
Split squats, lunges, goblet squats, Romanian deadlifts and step-ups offer a great deal of lower-body work with little equipment.
Vertical pull and press
A doorway pull-up bar helps with pulling strength, whilst dumbbells and bands handle overhead pressing at a manageable scale.
This audit also tells you what not to buy. If you hate running, a large cardio machine will not become charming because it lives in your home. If you only used the treadmill to warm up, walk outside, climb stairs or skip for a few minutes instead. The most economical kit is the kit you do not buy.
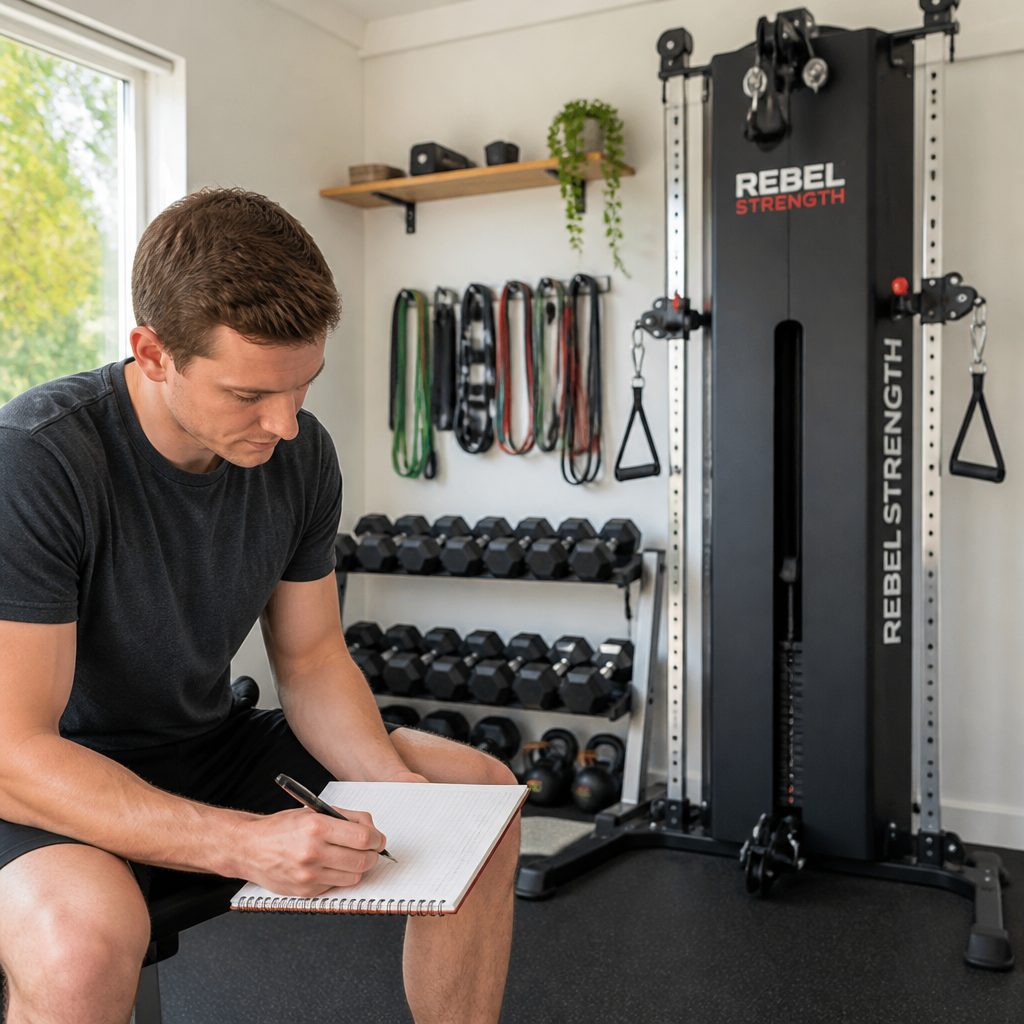
A simple movement audit turns a long list of gym machines into a short list of exercises you can reproduce at home.
3. Build the starter kit around five useful tools
The cheapest genuinely useful home gym is not one product. It is a small system. Each piece needs to solve several problems, pack away easily and work with the others.
The most practical first-time kit uses adjustable dumbbells, a resistance-band set, a mat, a doorway pull-up bar and a jump rope. That combination was often suggested as a starter strength setup because it supported pressing, pulling, squats, lunges and core training. It also gave you a simple conditioning option without adding a huge object to the spare room.
Adjustable dumbbells: the anchor of the setup
Dumbbells are the most versatile single strength purchase for most beginners and returning lifters. You can squat, hinge, press, row, lunge, curl, carry and perform direct shoulder work. Adjustable designs make more sense than a row of fixed pairs when space is tight, provided the adjustment mechanism feels secure and you are willing to change the load between exercises.
Do not fixate on copying a barbell programme exactly. Dumbbells make unilateral work easier, expose left-to-right differences and work brilliantly for higher-repetition leg work. A pair that challenges you for rows, presses and split squats will stay useful far longer than a light novelty set bought in an optimistic January mood.
Resistance bands: the quiet overachiever
A worthwhile resistance-band set includes several levels of resistance, and commonly came as five bands with handles, ankle straps and a door anchor. Sets often covered a claimed resistance range around 10–50lb. Treat those figures as a broad guide rather than a laboratory promise; bands feel harder through different points of the movement, and the stated resistance is not the same thing as holding a dumbbell of that load.
Bands excel at rows, pulldowns, presses, face pulls, triceps work, hamstring curls, glute work and assisted pull-ups. They are also very handy when your dumbbells are not heavy enough yet. Slow repetitions, pauses and longer sets can make a modest band feel surprisingly rude.
Mat, doorway bar and rope: small items, real jobs
A mat protects both you and the surface underneath during floor work. It gives you a reliable place for core training, mobility, push-ups and stretching. It does not need to transform you into a person who says "namaste" after a conditioning circuit. It simply needs to stop elbows and knees meeting a cold floor with unnecessary enthusiasm.
A doorway pull-up bar gives you a vertical pull, which is the hardest pattern to replicate cheaply. A jump rope offers a compact warm-up and conditioning tool, though it is not ideal beneath low ceilings, around breakable lampshades or directly above your downstairs neighbour's bedroom. Context matters.
Why this kit works
- It trains every major movement pattern without claiming to be a commercial gym.
- Most pieces can live in a cupboard, under a bed or beside a sofa.
- You can progress without immediately buying large machines.
- It suits full-body sessions, short workouts and longer strength plans.
What it does not solve
- Very strong lifters may outgrow light dumbbells and bands quickly.
- Doorway bars are unsuitable for some frames and rented homes.
- Skipping can be noisy and needs clear space.
- You must provide your own routine, music and mildly awkward small talk.
4. Buy in the order that protects your budget
You do not need to order the whole list on the same day. In fact, I would not. Staging the purchases lets you establish a habit before turning a corner of your home into a parcel depot.
- Start with the mat and resistance bands. They allow a full-body plan immediately, take up almost no space and help you learn whether home training fits your routine.
- Add adjustable dumbbells next. This is the point at which your strength work becomes much easier to progress and track.
- Add the doorway pull-up bar only after checking the doorway. More on that shortly, because plaster repairs are not an advanced back exercise.
- Add a jump rope if your home and joints suit it. If not, brisk outdoor walking, stairs or bodyweight intervals can do the same broad job.
- Wait on a folding bench. A bench is useful, but it is not a prerequisite for getting stronger. Floor pressing, split squats and standing exercises carry you a long way.
There is a temptation to start at the other end: barbell, plates, bench, rack, flooring, mirrors, storage. Those are excellent tools in the right space. A quality barbell-and-plates setup has historically sat in a much more expensive category, with an adjustable bench also being a substantial purchase. That route makes sense when you are committed, have the room and know the training style suits you. It is not the cheapest route to replacing a standard membership.
Keep a small buffer in the budget for practical bits: somewhere to store equipment, a way to protect the floor where needed, and replacement batteries or tape if your chosen accessories use them. The unglamorous details are usually the ones that keep a home setup pleasant to use.
5. Check your space before the equipment arrives
Home-gym planning improves dramatically when you measure first and daydream second. You need enough clear floor to lie down with arms out, perform a lunge without colliding with furniture, and row a dumbbell without turning the coffee table into an accidental training partner.
Look up as well as across. Overhead pressing needs ceiling height. Skipping needs more. A pull-up bar needs a suitable frame and enough clearance that your knees are not permanently folded into your ribs. If your space is limited, kneeling presses, band presses and rows, split squats and floor exercises are all perfectly valid. There is no medal for training in the least convenient possible position.
Noise deserves an honest assessment too. Dropping dumbbells is bad for floors, neighbours and dumbbells. Train with control, place equipment down rather than launching it, and use the mat as a comfort layer rather than assuming it turns any floor into a lifting platform. If you live above someone, choose slow strength work, bands, walking and low-impact circuits over skipping intervals at dawn. They will appreciate it. So will your relationship with the building group chat.
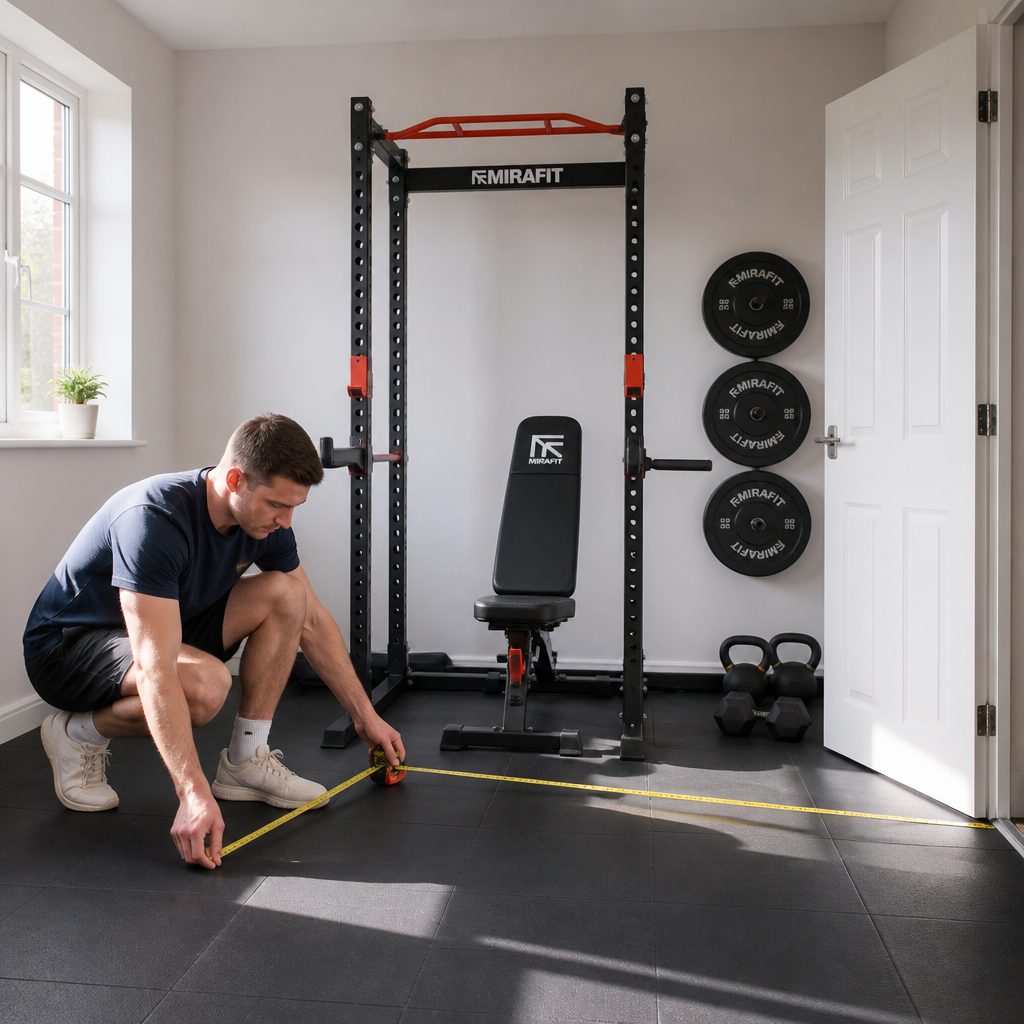
Measure the usable training area, ceiling clearance and doorway before choosing where the kit will live.
Quick home-gym space check
- Clear enough floor for a mat, lunge and push-up position.
- A stable place to store dumbbells where they cannot roll or become a toe test.
- Ceiling clearance for your preferred pressing and conditioning choices.
- A doorway that is genuinely appropriate for a pull-up bar, if using one.
- A plan for noise, sweat and ventilation before your first proper session.
6. Use the doorway pull-up bar carefully, or not at all
A doorway pull-up bar can be a brilliant budget tool. It can also be the one item that does not suit your home. Do not force it into the plan merely because the internet says every home gym needs one.
Check the manufacturer's fitting guidance for the specific bar and compare it with your doorway. Inspect the frame, trim and surrounding wall. Avoid guessing. If anything looks weak, unusual, loose or damaged, leave the bar out. Pulling exercises can still be covered by bands and dumbbell rows. You are not missing out on a secret muscle-building ingredient; you are making a sensible decision based on the building you live in.
When it is suitable, begin with supported hangs, scapular pulls, feet-assisted reps or band-assisted pull-ups. Plenty of people cannot do strict pull-ups immediately, and that is normal. The bar remains useful for hanging, gradual assisted work and eventually full repetitions. Just avoid swinging about on day one as though you have been cast in an action film with a very modest stunt budget.
Start with a hang
A controlled hang teaches grip, shoulder comfort and the feel of the bar before you add full bodyweight pulling.
Use band assistance
Assistance lets you practise the pull-up pattern whilst keeping repetitions smooth rather than turning every rep into a wrestling match.
Keep rowing
Dumbbell and band rows remain fundamental even when you have a pull-up bar. Pulling strength does not need one single exercise.
7. Follow a full-body plan before chasing variety
The best budget home gym programme is boring in the useful sense. It repeats the main movements often enough that you get better at them. You do not need a different circuit every day, fourteen exotic exercises per body part or an app shouting motivational slogans at you whilst you look for the right band.
Three full-body sessions per week work well for many people. Leave a day between sessions where possible. Start with a small number of movements, do a few controlled sets and record what happened. The record can be a notebook, a notes app or a scrap of paper magnetised to the fridge. It does not need analytics worthy of a Premier League club.
A straightforward session template
- Choose one squat or lunge pattern: goblet squat, split squat or reverse lunge.
- Choose one hinge: dumbbell Romanian deadlift, hip hinge drill or band good morning.
- Choose one press: push-up, floor press, standing dumbbell press or band press.
- Choose one pull: one-arm dumbbell row, band row, pulldown or pull-up progression.
- Choose one small accessory movement: curls, triceps presses, lateral raises, calf raises or band face pulls.
- Finish with trunk work or a short conditioning block if you have time and energy.
For each exercise, stop with a little quality left in the tank rather than grinding every set into a shaky contest. Add repetitions gradually until the exercise becomes too easy, then increase dumbbell load, band tension, range of motion, pauses or total sets. Progress is not just adding weight. A slower lowering phase, a pause at the bottom of a squat, or a more stable split squat can be a serious challenge.
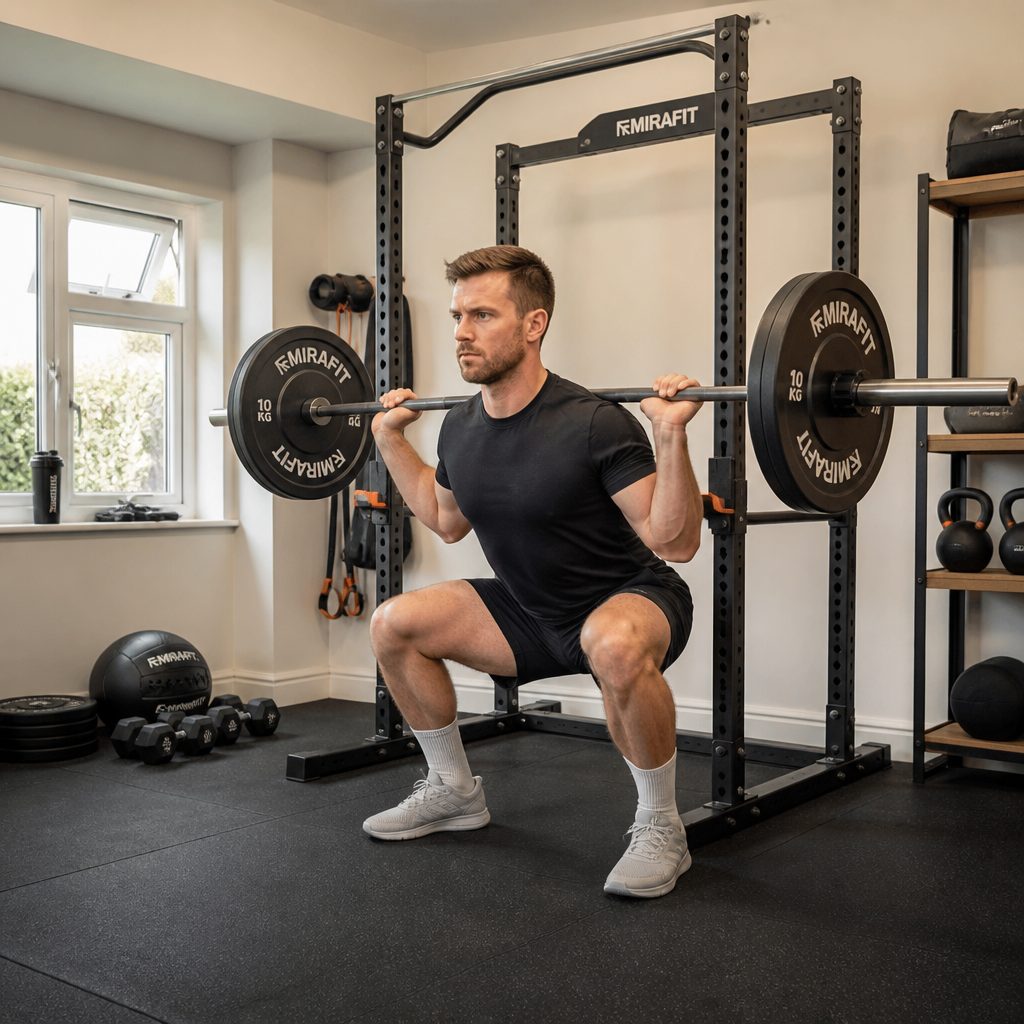
A full-body routine built around squat, hinge, push and pull patterns makes modest equipment go much further.
Make lighter kit harder
Use one-and-a-half repetitions, slower lowering phases, unilateral exercises and shorter rests before assuming your equipment has stopped working. A slow split squat is not glamorous, but neither is being able to walk downstairs normally the next day.
8. Track the return without pretending every pound is identical
Return on investment is more than a cancellation calculation. Time matters. So does convenience. If the gym was a twenty-minute trip each way and home training means you can complete a session between work and dinner, that is a real gain. On the other hand, if the gym provided the structure, social nudge and equipment that got you there consistently, cancelling too soon may be false economy.
The useful comparison is between your old monthly spend and the total cost of equipment you genuinely keep using. A very lean five-tool starter setup can cost less than one month at many commercial gyms, whilst a more substantial dumbbell-led setup may take longer to pay back. The historical evidence points to a typical basic setup recovering its outlay across roughly the first year to two years when it replaces, rather than supplements, a conventional membership.
Think of the equipment as an asset with a practical lifespan, not a monthly entertainment subscription. Dumbbells, bands, mats and kettlebells do not become useless because a billing date arrives. Bands can wear and may need replacing eventually, but the core idea holds: once the initial kit is paid for, the ongoing cost is usually limited to maintenance, occasional replacement and whatever training guidance you choose to use.
There is another test that matters just as much: can you train when life becomes annoying? If a late meeting, childcare, rain, dark evenings or a bad commute would normally have killed the gym trip, a home setup may produce more sessions. More sessions from simpler kit beats fewer sessions from impressive kit. Every time.
9. Compare the budget route with the two common upgrades
There are three broad ways people build a home gym. The first is the compact starter kit described here. The second centres on kettlebells. The third is a barbell, plates and bench arrangement. None is universally best; they simply ask different things of your space, budget and training history.
| Feature | Compact dumbbell and band starter kit | Kettlebell-led setup | Barbell, plates and bench setup |
|---|---|---|---|
| Core tools | Adjustable dumbbells, bands, mat, doorway bar and rope | Kettlebells, mat and optional bands | Barbell, plates, bench and supporting equipment |
| Strength coverage | Pressing, pulling, squats, lunges and core work | Strong for squats, hinges, carries and conditioning | Strong for progressive heavy compound lifting |
| Known entry point | Five essential tools can form a very lean starter kit | Kettlebells have historically started below twenty pounds per unit | Quality barbell and plates have historically averaged around four hundred pounds |
| Bench requirement | Optional rather than essential | Usually optional | Commonly useful; adjustable benches have historically sat around two hundred and forty pounds |
| Space and storage | Best for flats and shared homes | Compact, but several bells become heavy to store | Needs dedicated, robust space |
| Best fit | Most people replacing general gym training | People who enjoy ballistic conditioning and simple kit | Committed lifters with room and a clear barbell goal |
The compact kit wins on versatility per square metre. A kettlebell setup is wonderfully simple and can be excellent, especially if swings, cleans, presses and carries suit you, but it is less immediately flexible for certain pulling and pressing patterns unless you add bands. A barbell setup is superb for people who want to pursue barbell strength seriously. It is simply not the inexpensive, low-clutter answer for most first-time home trainers.
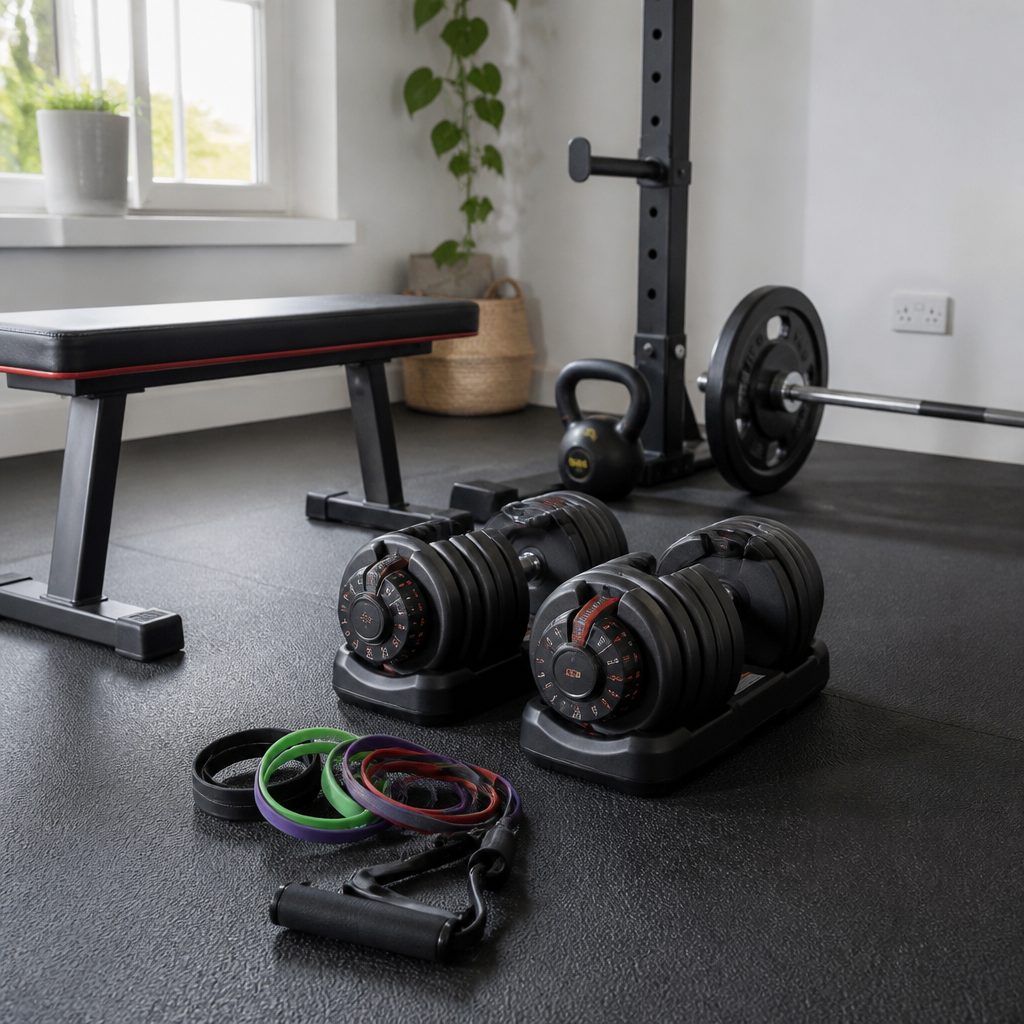
Kettlebells and barbells can be excellent upgrades, but the compact dumbbell-and-band route remains the friendliest place to begin.
10. Pick the route that suits your actual life
There is no point pretending every buyer has the same goal. The best setup changes depending on whether you are returning to exercise, trying to lift seriously, living in a flat or simply determined to stop paying for a gym you visit twice a month.
Best on a tight budget
Start with resistance bands and a mat. Add dumbbells once the habit has taken hold. It is the lowest-risk way to begin training at home.
Best all-rounder
Choose adjustable dumbbells, bands and a mat, then add a suitable doorway bar. This is the strongest balance of versatility, storage and progression.
Best premium route
Choose a barbell, plates and adjustable bench only when you have the room, floor confidence and a specific desire to train heavy barbell lifts.
Best for conditioning
Choose kettlebells with bands if you enjoy swings, carries and short, demanding sessions, and have a safe place to train dynamically.
Best for flats
Dumbbells, bands, a mat and deliberate low-impact training are the neighbour-friendly answer. Skip the rope if noise is likely to be a problem.
Best for busy schedules
Keep the kit visible but tidy, and use a repeatable full-body routine. Removing travel is the main advantage; do not replace it with setup faff.
My own bias is towards the all-rounder route for ordinary people. Adjustable dumbbells and bands are not as romantic as a barbell platform, but they work in real homes. You can start without declaring war on your spare room. You can train around work. And you can keep progressing long after the novelty of owning gym kit has worn off.
11. Avoid the mistakes that turn home kit into clutter
The first mistake is buying for an imagined identity. If you have never enjoyed complex Olympic lifting, do not begin by buying equipment for complex Olympic lifting. If you dislike high-impact cardio, do not buy a rope and then feel guilty that it remains untouched. Buy for the training you will plausibly do on a Tuesday after a difficult day.
The second is ignoring progression. A couple of very light dumbbells may feel productive at first, but a strength setup needs a way to become harder. Adjustable dumbbells, multiple bands, unilateral exercises and tempo work all create room to advance. Without that, you can still exercise, but you may soon hit the point where every session is more of the same.
The third is treating the home gym as a punishment corner. Make it easy to access, keep it clean and have a simple plan. Put the mat where you can unroll it quickly. Store the bands together rather than letting them migrate around the home like colourful elastic wildlife. Keep your workout written down. Friction is the enemy here, not a lack of cutting-edge equipment.
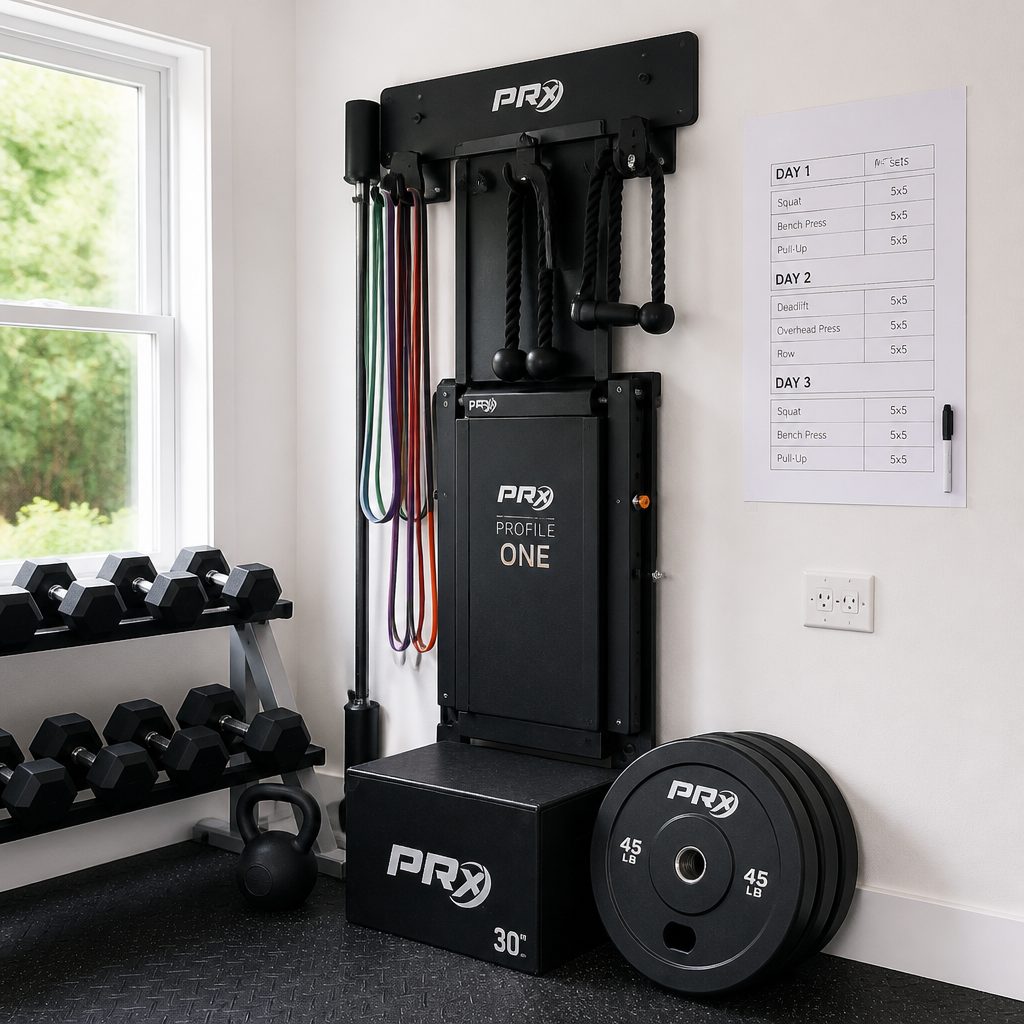
Neat storage and a written plan remove the small points of friction that often derail home training.
Do not cancel a membership until you have completed a few weeks of home sessions. The goal is a genuine replacement, not an enthusiastic purchase followed by a quiet return to the gym because you miss the routine.
12. Your first month at home: keep it deliberately simple
For the first month, focus on showing up rather than proving anything. Train three times weekly if that fits; twice weekly is still worthwhile if life is busy. Start each session with a few easy movements to warm up, then complete your squat or lunge, hinge, press, pull and a little trunk work. Stop before form goes wandering.
Use the first few sessions to learn practical details. Which dumbbell setting works for a floor press? Where can the band anchor safely? Does the mat slide? Is the room too warm at the time you usually train? These are not signs that your setup is inadequate. They are normal adjustments that commercial gyms have already made on your behalf.
At the end of each week, write down one thing that felt easier and one thing that caused friction. If your sessions are too long, remove an accessory exercise. If lower-body work feels too easy, slow it down or favour split squats. If you are skipping sessions because the equipment is put away too deeply, rethink storage. Build the system around your behaviour, not around an idealised fitness personality who wakes at five and enjoys burpees.
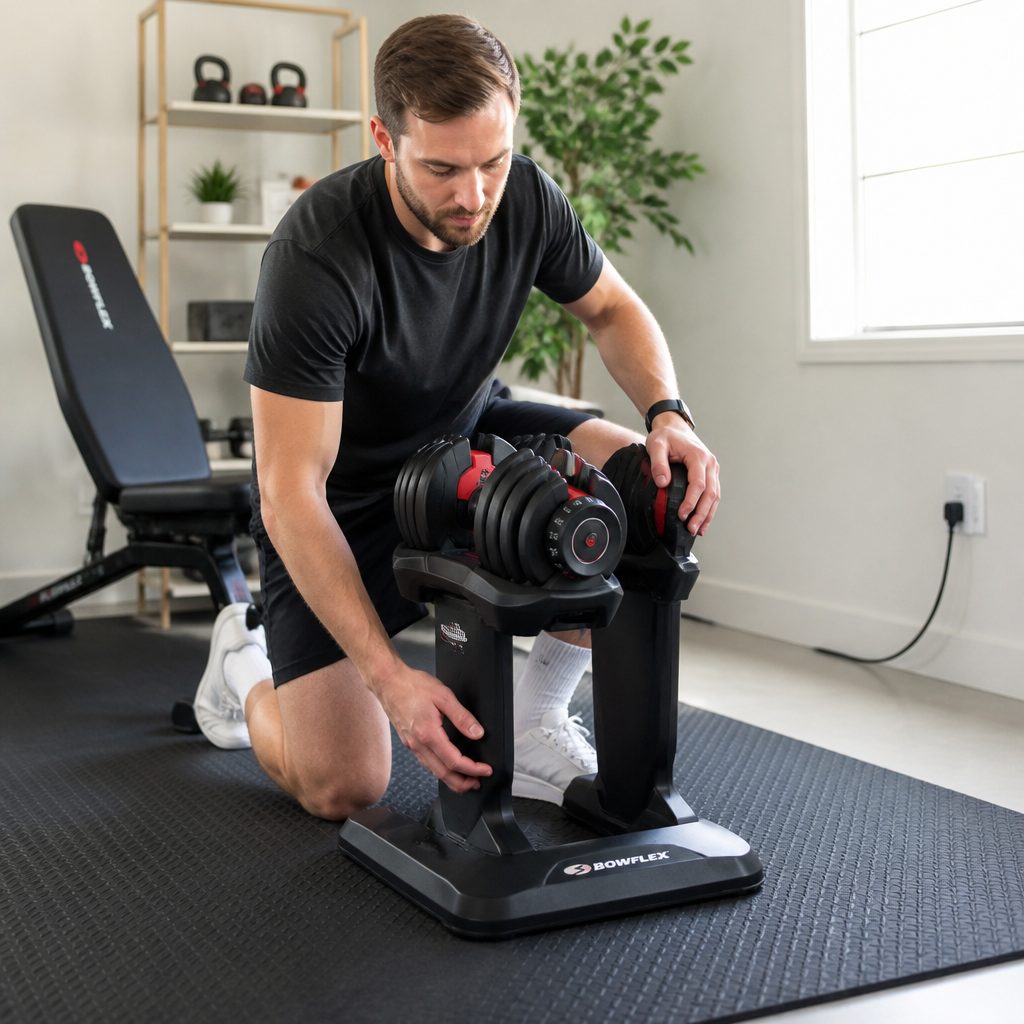
The first month is for establishing repeatable habits, learning the equipment and making home sessions feel normal.
13. Frequently asked questions
For general strength, fitness and body-composition goals, yes. Dumbbells, bands, bodyweight training and a pull-up option cover a huge amount. It will not fully replace specialist machines, heavy barbell training or the social environment of a gym, but many people do not need those things to make excellent progress.
Adjustable dumbbells are usually the best single strength purchase because they handle so many exercises. If money and space are especially tight, begin with bands and a mat, establish the habit, then add dumbbells when you know you will use them consistently.
No. A bench is useful, particularly for supported rows and varied pressing angles, but it is an upgrade rather than a foundation. Floor presses, push-ups, standing presses, split squats and Romanian deadlifts provide plenty of effective training before a bench becomes necessary.
They can be, particularly for beginners and for higher-repetition training, provided you work close enough to muscular fatigue with good control. Bands are also excellent alongside dumbbells. Their changing resistance profile feels different from free weights, so use both if you can rather than treating it as an either-or argument.
Use unilateral work such as split squats and one-arm presses, slow the lowering phase, pause in difficult positions, increase repetitions, shorten rests and add sets gradually. These methods create meaningful overload without immediately needing more equipment.
It can be, but only if your particular doorway and frame suit the specific product's fitting requirements. Inspect the frame carefully and do not make assumptions. If there is any doubt, skip it. Band pulldowns and rows are far better than damage, injury or a difficult conversation with a landlord.
For a short transition period, that can be sensible. Complete several weeks of consistent home sessions first. Once the home routine is genuinely established and covers your goals, cancelling becomes a practical decision rather than a hopeful one.
Two to three full-body sessions per week are enough for most beginners and many experienced people with busy schedules. Consistency matters more than a complicated split. Build around the number of sessions you can repeat through ordinary weeks, not only unusually organised ones.
The bottom line
The cheapest convincing way to replace a £60-a-month gym membership is not a giant all-in-one machine or a garage full of iron. It is a compact kit built around adjustable dumbbells, resistance bands, a mat, a sensible pulling option and a way to raise your heart rate when needed.
Start smaller than your enthusiasm suggests, train for a few weeks, then expand only where your routine exposes a real gap. The figures showed that basic home setups could pay for themselves within roughly a year to two years against a typical membership. More importantly, they can make training easier to fit into a normal British life. No commute. No waiting for a bench. No discovering that every squat rack is occupied by someone filming a motivational monologue.
Buy for the movements you need, not the gym you think you ought to own. That is how a budget home gym stays a gym rather than becoming a very expensive laundry rack.