
Best Home Gym Flooring and Exercise Mats for a UK Garage Gym
The glamorous bit of a garage gym is usually the rack, the barbell or the adjustable bench. The bit that decides whether it feels good to train in, though, is under your feet. Here is how to choose rubber tiles, foam mats and premium interlocking flooring that suit the way you actually train — rather than the gym you vaguely intend to build one day.
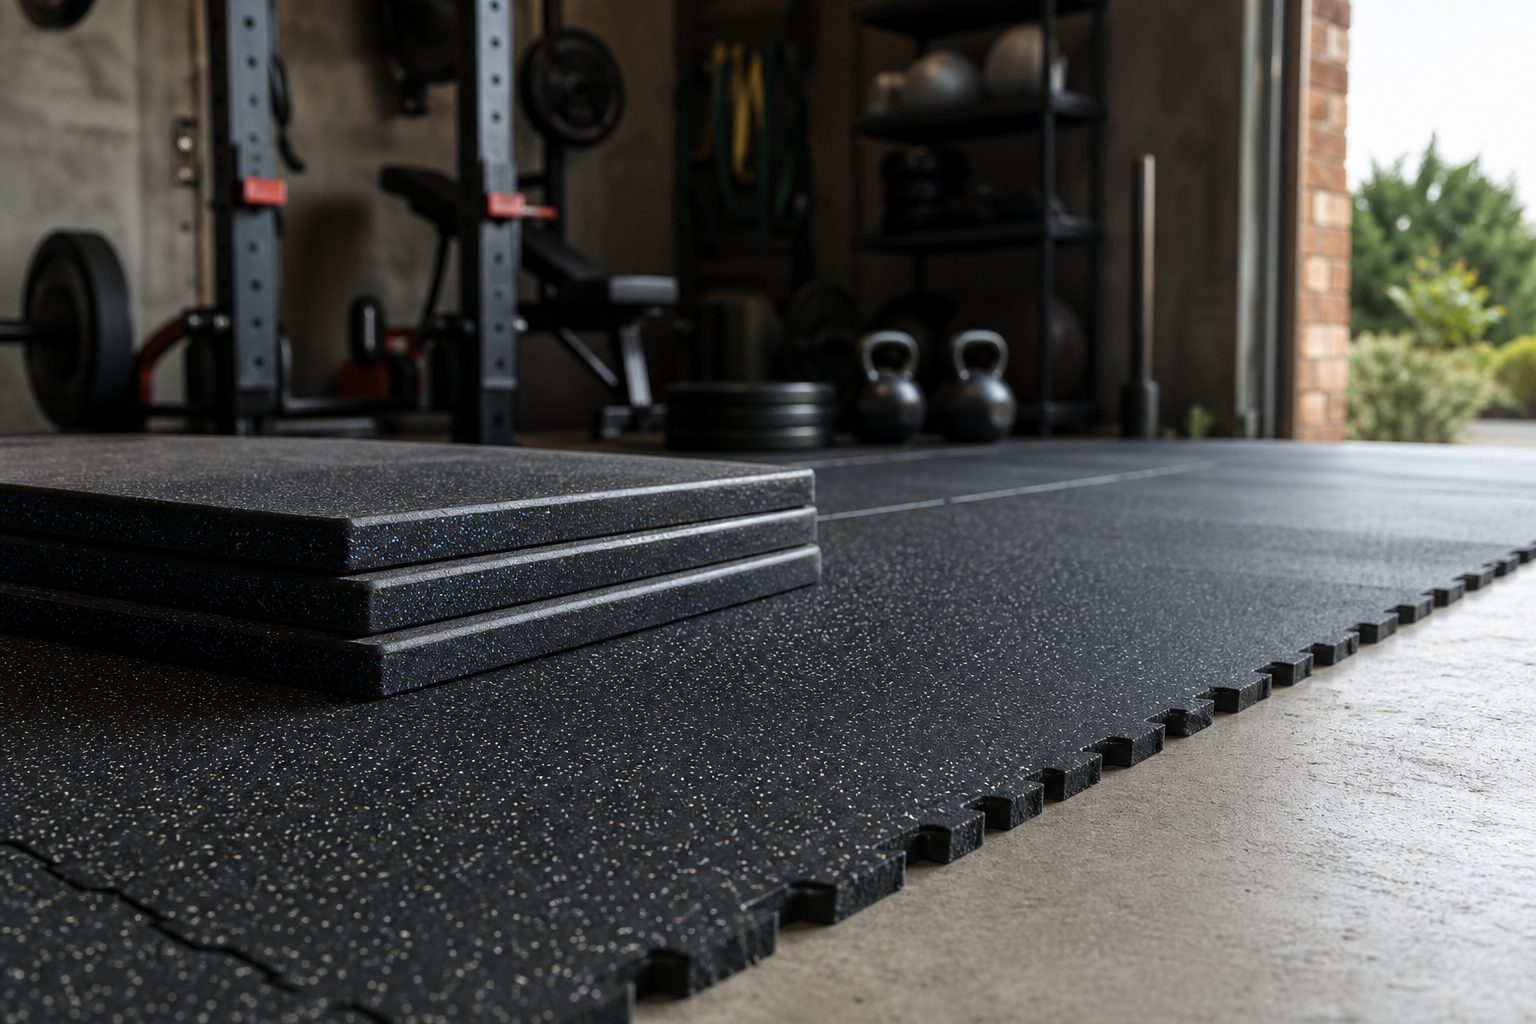
A well-floored garage gym separates the training area from the cold concrete beneath it, protecting both your equipment and the building's floor.
 By James Oduya · Staff Writer & Home Gym Columnist · Updated November 03, 2026
Why garage gym flooring deserved more thought than most people gave it
Garage gyms had a particular habit of being built backwards. First came the exciting purchase: perhaps a rack, a bar, a bench, some plates or a cardio machine. Then came the slightly sobering realisation that all of it was sitting on painted concrete, cold enough to make a warm-up feel like an expedition and hard enough to punish both dropped dumbbells and bare knees. Flooring was often the final item on the list. It really ought to have been much nearer the start.
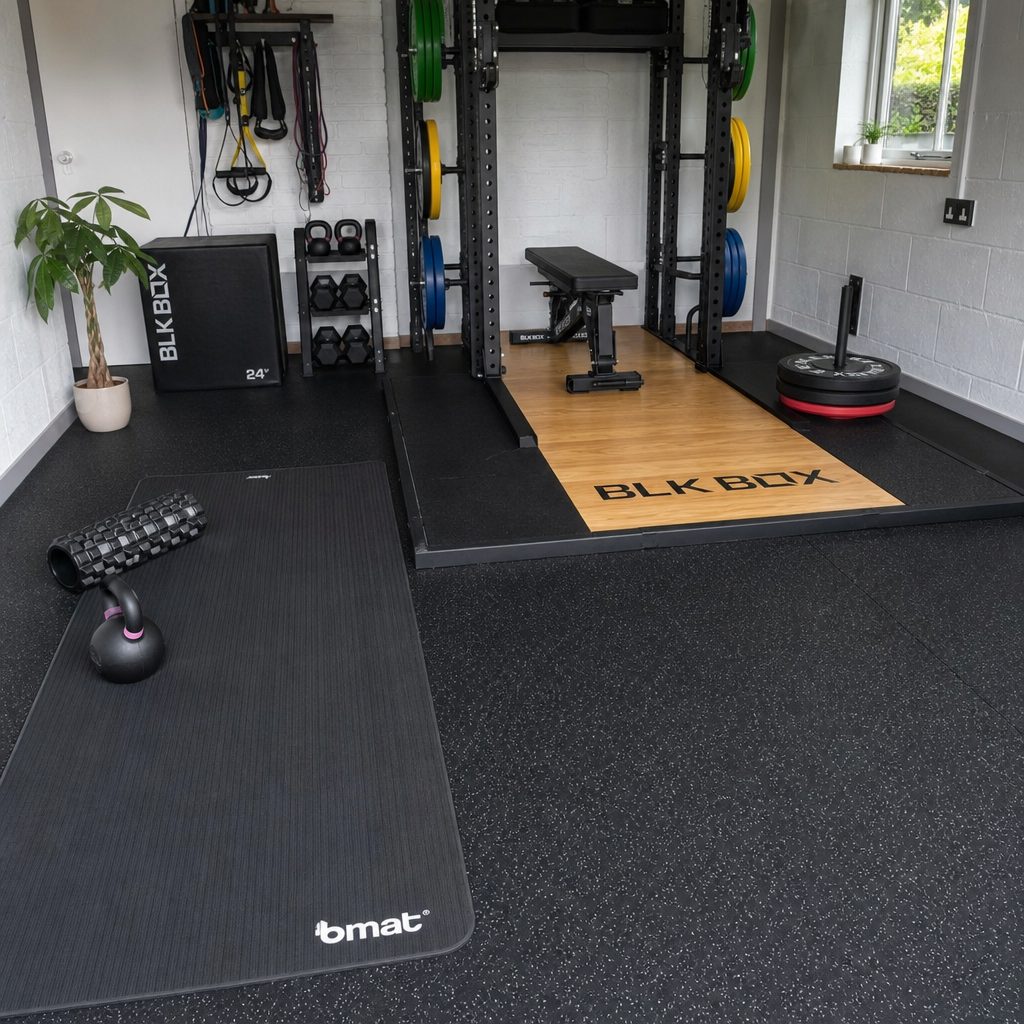
The right choice is usually determined by training style: a bodyweight corner, a rack-and-bench gym and a lifting platform ask very different things of the floor.
A decent floor did several modest but very useful jobs at once. Rubber helped protect the garage sub-floor from the weight and impact of equipment. It created a non-slip surface, damped vibration and noise, made floor work less miserable, and added a measure of insulation to a room that was usually not famous for its central heating. It also gave a garage gym a visual boundary. That sounds frivolous until you have trained on a defined, level-looking platform rather than amongst oil stains, garden tools and a bag of compost that had clearly been promoted beyond its abilities.
The important point was that "gym flooring" was not one thing. A 13mm EVA foam tile for yoga and bodyweight circuits was useful in its lane. It was not a cheaper substitute for rubber beneath a loaded barbell. Equally, a 30mm or 43mm-plus rubber lifting surface was wonderfully reassuring for repeated impact, but it would be overkill underneath a stationary bike and can feel needlessly substantial in a small stretching corner. Good buying was mostly about matching the material and thickness to the job.
For this guide, I have treated the floor as a system rather than a decorative afterthought. That means considering your training, the equipment's footprint, where weights could plausibly hit the floor, how temporary you need the installation to be, and whether the garage has to remain partly a garage. Most people did not need one universal material from wall to wall. A rubber strength area plus a foam mobility strip was often the more sensible answer.
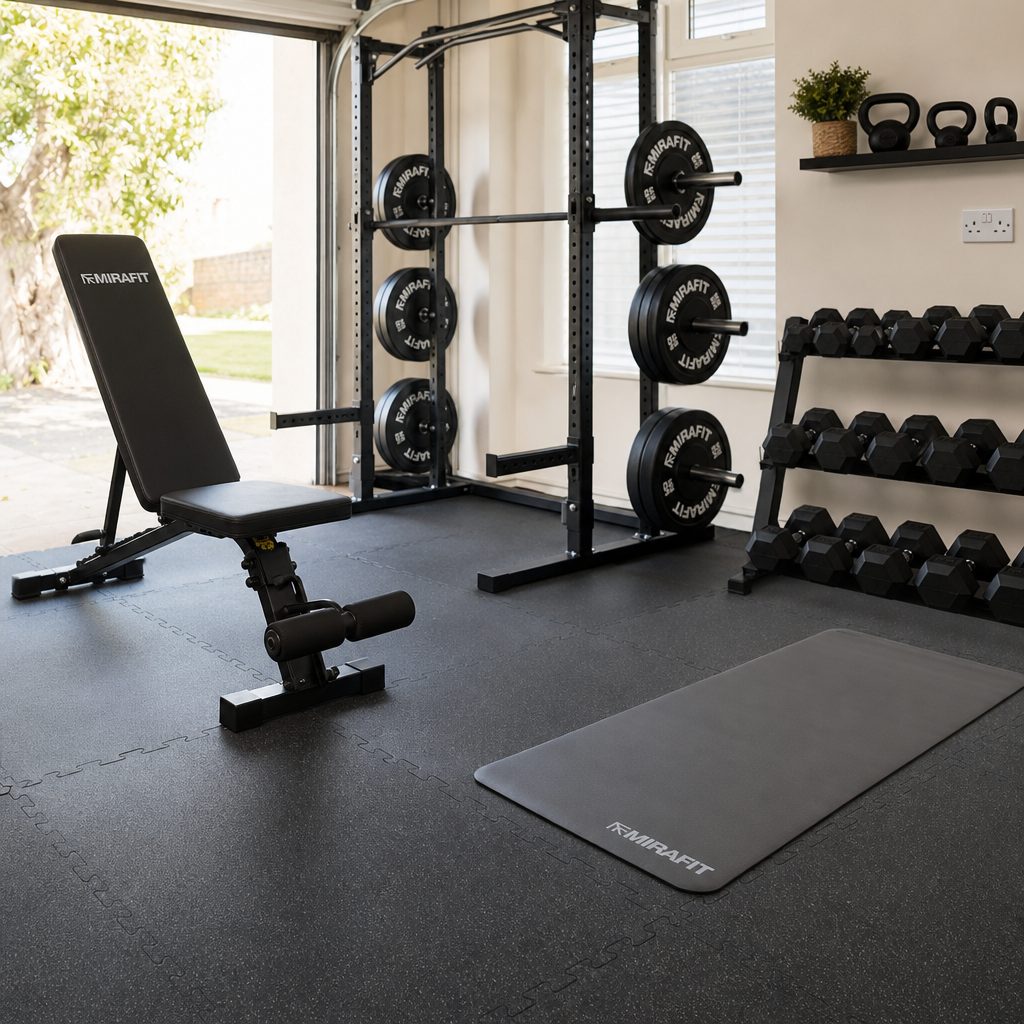
Interlocking flooring makes it practical to build a dedicated training zone without committing every inch of a shared garage to one surface.
The useful rule of thumb
Put rubber under iron and equipment. Put foam where you stretch, kneel, practise yoga or do bodyweight work. Trying to make one material do both jobs usually ended with either dented foam or a stretching area that felt more like a car park.
How to choose the right thickness before buying a single tile
Thickness was the first specification to understand because it influenced almost everything else: the amount of cushioning, how well a surface coped with regular impact, how it felt beneath a bench, whether a rack remained stable, and how much of a lip you created at the edge of the training area. It was tempting to assume thicker always meant better. It did not. It meant more protection, certainly, but a floor still had to suit the work you did on it.
At the light end, 11mm and 15mm rubber flooring were suitable for stretching, light exercise, bikes, benches and general floor protection. These were sensible options when the priority was grip, comfort and keeping light equipment from marking the concrete. A garage that mainly held a bike, an adjustable bench and a handful of dumbbells did not automatically require a heavyweight lifting platform. If nothing was being dropped and the loading stayed sensible, a lighter rubber floor could be exactly right.
For most properly equipped garage gyms, 20mm rubber was the sensible middle ground. It was thick enough for regular strength training with dumbbells, kettlebells, racks, benches and cardio equipment. It had the robust, planted feeling that makes a room feel like a training space rather than an improvised spare corner. If you were starting with a rack, bench and free weights but had not committed to repeated Olympic lifting, this was where I would begin the conversation.
Once regular drops entered the picture, 30mm and 43mm-plus tiles made more sense. They offered greater protection for lifting zones, repeated drops, CrossFit-style sessions and Olympic lifting. This was not merely a question of a little extra comfort. Repeated impacts transferred energy into the floor, equipment and room. A thicker rubber surface was there to take more of that punishment. It also made sense to think in zones: you could have a 20mm floor beneath the rack and bench, then a more protective 30mm surface where a bar actually landed.
The chart was not a scorecard. A 43mm surface was not "twice as good" as a 20mm one simply because it was thicker. It was a visual reminder that these materials occupied different jobs. A thinner rubber tile could be a very good buy for its intended purpose. The mistake was buying it for a purpose it could not reasonably fulfil.
Think, too, about the height of the finished floor. A garage gym may have a door threshold, storage shelving or an existing concrete step to contend with. A thicker floor is a great thing until it makes a door awkward or creates an edge that catches a wheeled bench. Ramped edges were available with Bulldog Gear's 30mm Laminated Performance Tile, which was particularly useful where a floor ended in an open area rather than against a wall. It was one of those unglamorous additions that made a finished room feel properly considered.
The ranked picks at a glance
The choices below reflected distinct garage-gym jobs rather than pretending every training space was identical. Rubber was the central recommendation for strength equipment. EVA foam remained excellent for low-impact exercise and comfort, provided you did not ask it to act like a lifting platform. Bulldog Gear's laminated options added a more engineered interlocking approach for people creating a more permanent-looking space.
| Ranked pick | Material / format | Confirmed dimensions or thickness | Best suited to | Key consideration |
|---|---|---|---|---|
| GymGuard Rubber Gym Mats | High-density rubber | 11mm, 15mm, 20mm, 30mm and 43mm+ options | Strength-focused garage gyms | Floor Load Density of 1 tonne/m³; surface density of 1000kg per sq.m |
| Bulldog Gear 20mm Laminated Performance Tile | Interconnecting laminated tile | 1m × 1m, made from four 50cm² subtiles; 20mm | All-round garage strength areas | Anti-slip interconnection designed to prevent movement |
| Bulldog Gear 30mm Laminated Performance Tile | Interconnecting laminated tile | 1m × 1m, made from four 50cm² subtiles; 30mm | Dedicated impact and lifting zones | Integrated connection system and optional ramped edges |
| Bulldog Gear Morphic Gym Tile | Gym tile | 1m × 1m × 18mm | Smaller covered areas and flexible layouts | Thinner 18mm format; frequently sold at clearance prices |
| Sprung Gym Flooring EVA Foam Tiles | Interlocking EVA foam | 13mm–40mm | Yoga, HIIT, bodyweight training and play areas | Heavy weights can permanently dent foam |
| ComFy Interlocking Foam Exercise Mats | EVA foam interlocking tiles | 60cm × 60cm | Quick home workout and mobility spaces | Light, fast-fitting flooring approach |
There was no need to read the ranking as an instruction to buy the number-one option regardless of your training. If your garage gym was a yoga mat, resistance bands and a stationary bike, a foam or lighter-duty approach could make much more sense than heavy rubber. If you had a rack, a loaded bar and a habit of doing kettlebell work after a long day, the calculation changed very quickly.
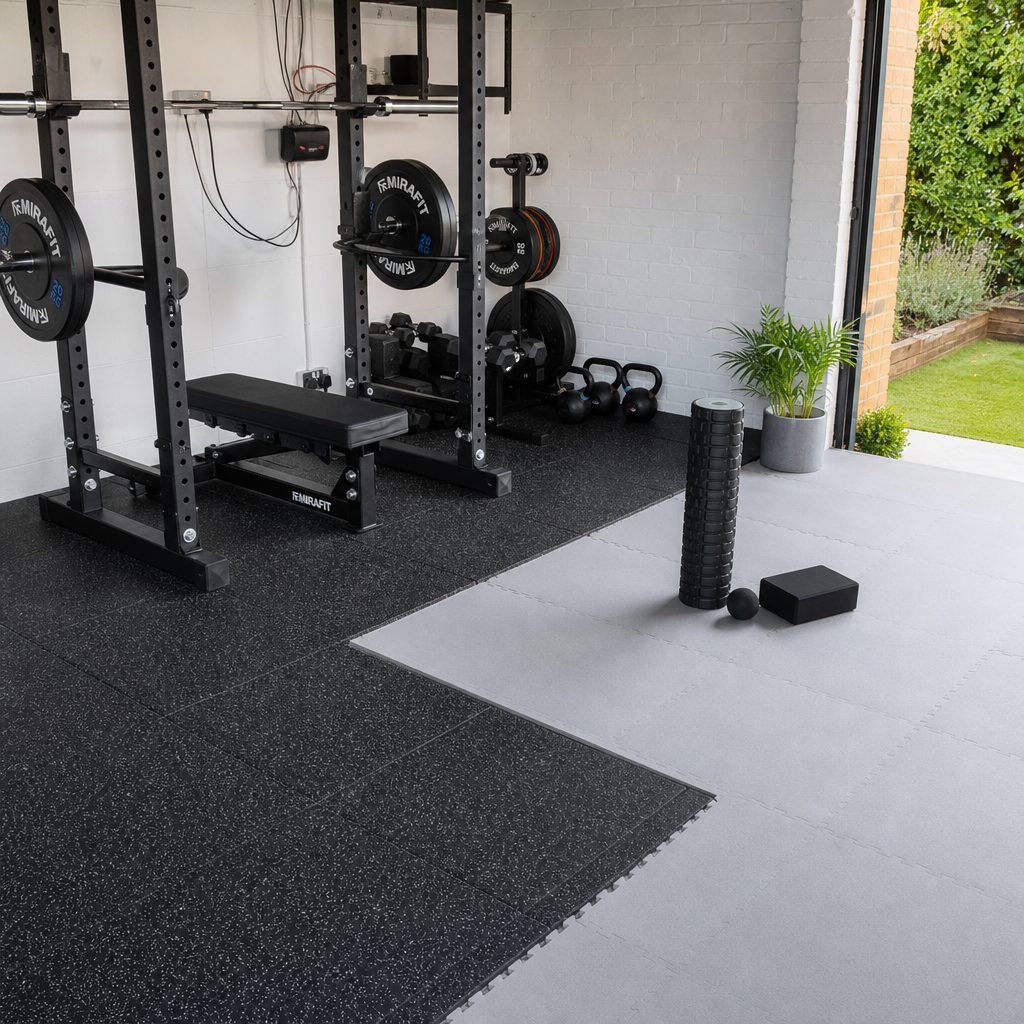
A mixed setup is often the most practical arrangement: impact-capable rubber in the strength area and softer EVA flooring in the mobility corner.
1. GymGuard Rubber Gym Mats — Best for serious all-round garage gym durability
GymGuard Rubber Gym Mats took the top spot because a garage gym with regular strength work needed a surface that felt unequivocally purpose-built. This was the choice for people who wanted to protect a concrete sub-floor beneath racks, benches, dumbbells, kettlebells and other equipment that was not especially delicate. Rubber flooring had the fundamental advantages most garage gyms needed: a non-slip training surface, useful sound and vibration reduction, and more comfort than bare concrete without becoming unstable underneath equipment.
The standout numbers here were the specified Floor Load Density of 1 tonne/m³ and surface density of 1000kg per sq.m. Those figures described a hard-wearing product intended for fully equipped professional fitness and strength-training areas as well as garage gyms. That did not mean every home gym required that degree of resilience. It did mean that someone building a serious space had a clear route to flooring designed for the kind of long-term use that makes ordinary domestic mats look rather optimistic.
The useful thing about rubber as a category was its adaptability. In lighter parts of a room, 11mm or 15mm rubber could suit a bike, bench, stretching or general protection. In the main training area, 20mm was the better all-round option for regular lifting. Then 30mm or 43mm-plus could be reserved for the bit where you were most likely to create impact. That modular way of thinking prevented a common overspend: covering every square centimetre in the thickest possible material even though a substantial portion of the room only held a bench or a foam roller.
Pros
- High-density rubber construction made for demanding fitness and strength areas.
- Useful thickness choices let you tailor light, general and impact-prone zones.
- Rubber helped reduce vibration and noise whilst insulating a cold garage floor.
- The stated density figures inspired confidence for a heavily equipped room.
Cons
- Thicker rubber was unnecessary for a purely yoga or bodyweight setup.
- A full rubber installation could be more material than a small shared garage needed.
- You still needed to plan the floor around door clearances and usable edges.
My view was simple: if your garage gym was primarily a strength gym, start by considering rubber rather than trying to save money with foam. The surface underneath a rack was not the place for a heroic experiment in false economy. A visibly dented foam tile beneath a loaded bench was not a badge of honour; it was merely a reminder that the wrong product had won the argument.
2. Bulldog Gear 20mm Laminated Performance Tile — Best for a tidy, stable all-round strength floor
The Bulldog Gear 20mm Laminated Performance Tile was the pick for someone who wanted the practical protection of a 20mm rubber-focused floor but also liked the neatness of an engineered interlocking system. Each 1m × 1m tile consisted of four 50cm² interlocking subtiles. That configuration made it more manageable than a single enormous slab whilst still building into a substantial metre-square area.
The important design claim was the anti-slip interconnecting arrangement, intended to create a solid base with zero movement. In a garage gym, seams and shifting mats were not minor annoyances. A floor that crept apart under a bench, a rower or a repeated set of burpees soon became the thing you noticed in every session. A properly connected surface removed that nagging sense that you were training on a temporary arrangement, even if the setup remained modular enough to change later.
At 20mm, this tile landed exactly in the all-round thickness bracket. It was a strong fit for regular dumbbell, kettlebell, bench, rack and cardio use. It also offered sound deadening, which mattered in a garage far more than it did in a carpeted spare room. Nobody expected a garage gym to be silent, particularly when lifting was involved, but reducing vibration before it travelled into the building was a civilised thing to do.
Four-piece 1m tile format
Each 1m × 1m tile was made from four 50cm² interlocking sections, giving you a modular way to cover a larger training footprint.
20mm all-round thickness
This was the thickness bracket that suited most regular garage strength training, including racks, benches, dumbbells, kettlebells and cardio equipment.
Designed to stay put
The anti-slip interconnection was designed to form a solid base with zero movement, addressing one of the chief irritations of loose individual mats.
Sound-deadening role
The flooring provided sound deadening as part of its garage-gym appeal, alongside the basic protection offered by rubber flooring.
There was one nuance worth mentioning. Some users had found Bulldog Gear's laminated performance flooring a little bouncy in a multi-purpose room, though still good overall. That was not a universal condemnation; it was an important reminder that a floor optimised for impact and comfort could feel different from the hard concrete or thin rubber surface you may have been used to. If your garage doubled as a workshop, you might prefer to keep the performance flooring focused on the training area rather than expect it to feel like a conventional hard floor throughout.
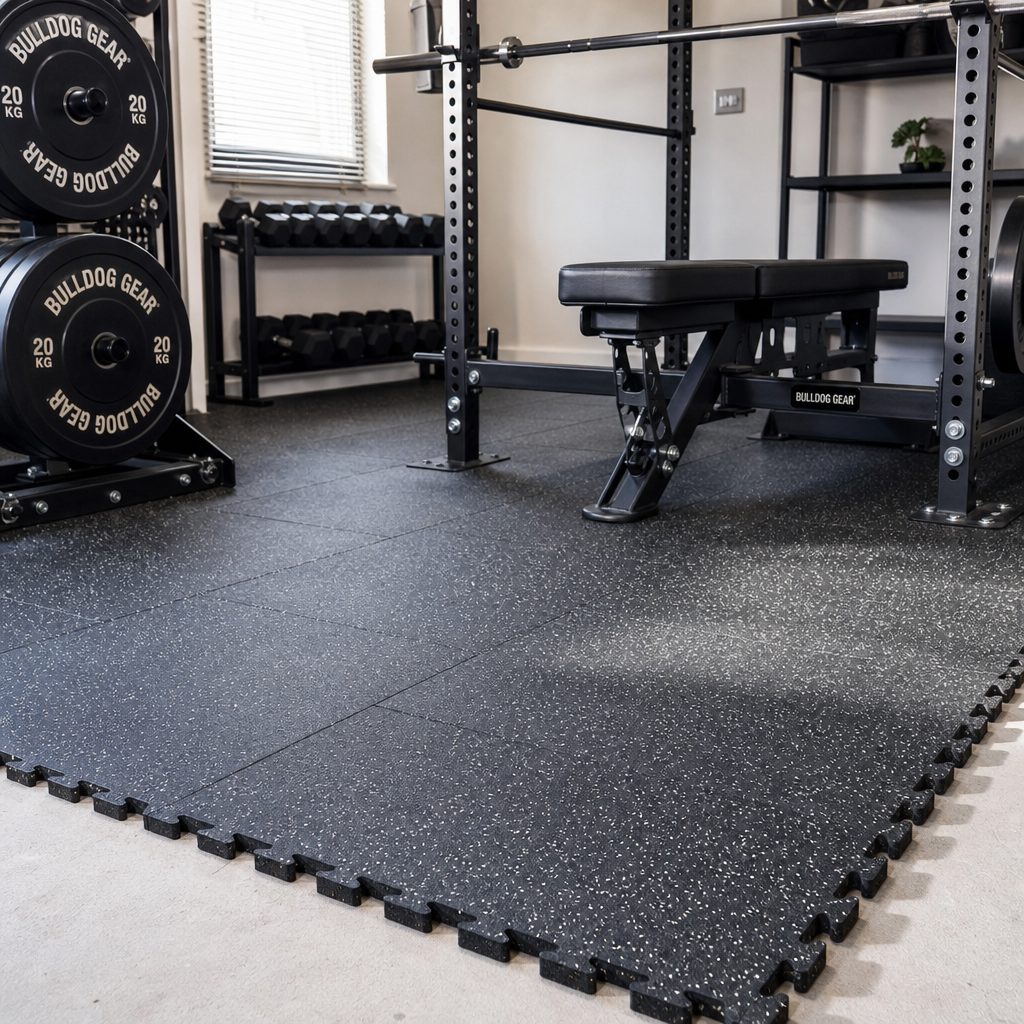
A 20mm interlocking performance floor suits the middle ground: enough substance for a rack-and-bench gym without turning every corner into a specialist lifting platform.
3. Bulldog Gear 30mm Laminated Performance Tile — Best for a dedicated lifting and impact zone
If the 20mm Bulldog Gear tile was the all-rounder, the 30mm Laminated Performance Tile was the more focused answer for impact-prone training. Its 1m × 1m layout again comprised four 50cm² sections, but the added thickness moved it into the category better suited to lifting zones, repeated drops and CrossFit-style work. This was for the person who knew where their barbell was likely to land and wanted that patch of the garage to be prepared for it.
The integrated connecting system was designed to stop the 0.5m sections moving when in use. That mattered particularly with a heavier surface. A thick tile that gradually separates under dynamic work would undermine the very confidence you bought it for. The aim here was a joined floor that behaved as one stable training base, rather than four components having a quiet disagreement halfway through your session.
Thirty millimetres was not just a bigger number on a product page. It was the point at which flooring started making more sense as a deliberately designated lifting zone. If you performed Olympic lifts, trained CrossFit-style, or regularly put dumbbells and kettlebells down with rather more enthusiasm than ideal, the extra protection was rational. You did not need to be a competitive lifter to appreciate it. You merely needed to understand that "I'll be careful" was not a floor-protection strategy with a particularly impressive track record.
Pros
- 30mm thickness suited regular impact, repeated drops and dedicated lifting work.
- Integrated connecting system was designed to prevent the 0.5m sections moving.
- 1m × 1m format made it practical to create a defined lifting platform.
- Ramped edges were available for a cleaner transition into the surrounding floor.
Cons
- It was more specialised than many bike, bench and bodyweight setups required.
- The thicker finished floor needed more care around thresholds and shared spaces.
- Users seeking a very hard multi-purpose surface might prefer a less cushioned feel.
I particularly liked the logic of using this as part of a mixed floor. You could create a 30mm lifting strip or platform where impact happened, place 20mm flooring around racks and benches, and reserve softer foam for mobility work. That approach acknowledged reality: garages were odd-shaped spaces, equipment changed over time, and very few of us needed the same surface for every square foot.
4. Bulldog Gear Morphic Gym Tile — Best for compact, flexible gym coverage
The Bulldog Gear Morphic Gym Tile was the more compact-minded choice in this roundup. At 1m × 1m × 18mm, it sat between light-duty rubber and the 20mm all-round strength sweet spot. It was a particularly sensible format for someone mapping out a small square beneath a bench, cardio machine or functional-training area, especially where full-room coverage was unnecessary.
An 18mm tile still offered a meaningful step up from bare concrete for everyday gym use. It was thick enough to feel like intentional gym flooring rather than a thin temporary protector, whilst avoiding the commitment of a 30mm dedicated lifting surface. This was the sort of product that made sense for a first proper garage-gym zone: cover the area you use now, then expand later if the gym grows. You did not have to tile the entire garage on day one merely because your future self had vague ambitions involving a sled and possibly a cable machine.
Bulldog Gear Morphic Gym Tile
1m × 1m × 18mm tile, sold individually so you can cover only the area you actually use.
Sold by the single tile, the Morphic Gym Tile was noteworthy for people who wanted to cover a modest footprint without treating flooring as an afterthought. Still, purchase decisions should be made on the intended use, not just the headline figure. A bargain 18mm tile was a good buy for a compact general gym area. It was not automatically a substitute for a 30mm impact zone if your training involved regular drops.
The other attraction was simplicity. A metre-square tile was easy to visualise against the equipment you owned. Measure the bench footprint. Add room to walk around it. Account for the place where you actually stand to lift rather than the place you imagine standing in a perfectly organised Instagram garage. A few accurate measurements and some masking tape on the concrete could tell you more than a great deal of hopeful mental arithmetic.
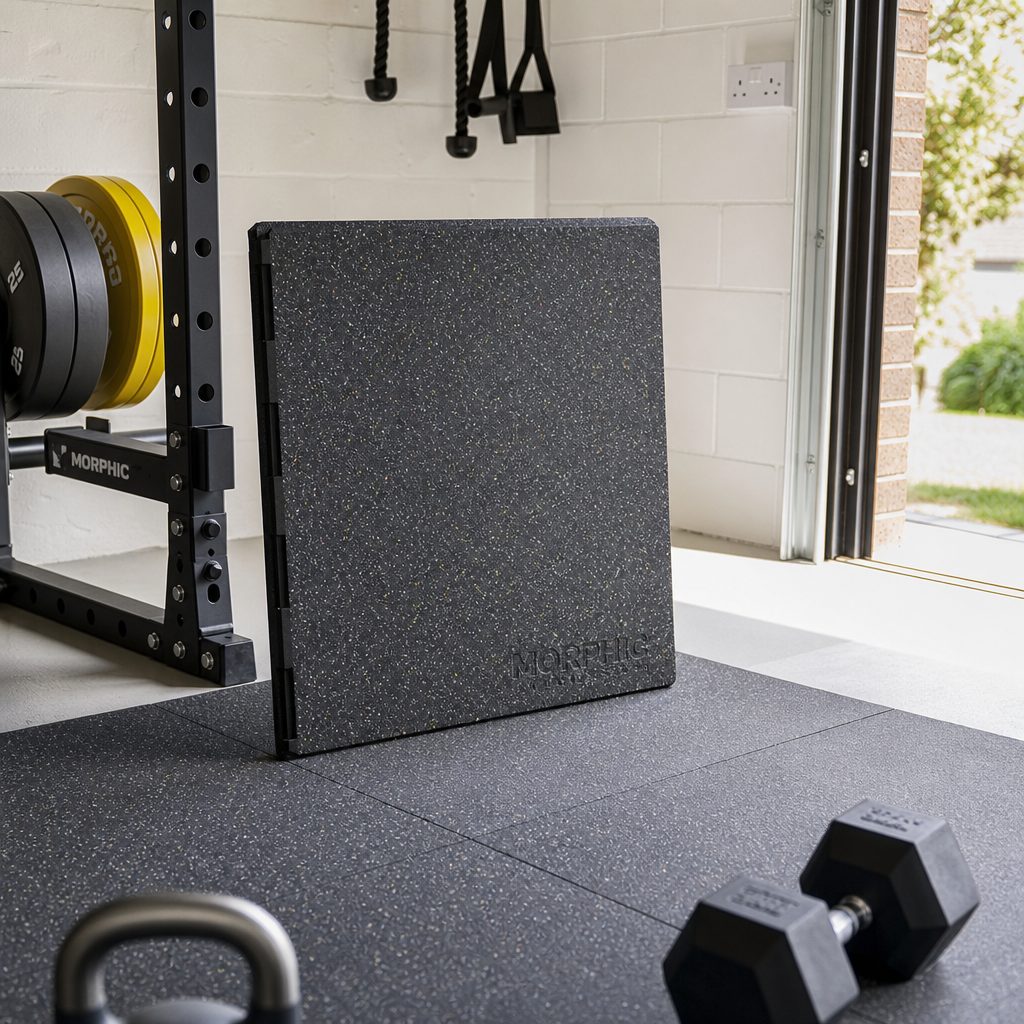
The 1m × 1m format of the 18mm Morphic Gym Tile makes it straightforward to map a compact equipment footprint before committing to a bigger installation.
5. Sprung Gym Flooring EVA Foam Tiles — Best for yoga, bodyweight training and warm underfoot comfort
Sprung Gym Flooring's EVA Foam Tiles were the obvious recommendation for the part of a garage gym where comfort mattered more than barbell impact resistance. These interlocking EVA tiles came in thicknesses from 13mm to 40mm, were light enough to lift with one hand, and fitted without glue, specialist tools or a tradesperson. For a quick-to-build bodyweight, yoga, stretching, HIIT or children's play area, that was a compelling set of qualities.
The 13mm option handled light-duty uses such as play corners and comfort underfoot. The 20mm option was the all-rounder for most rooms, offering enough cushioning for bodyweight training, yoga and play. That specific distinction was useful. Too many people bought the thickest foam available because thicker sounded reassuring, then discovered that the actual question was not "how much cushioning can I buy?" but "what will I actually put on it?"
For a mobility area, foam had a very human advantage over rubber: it was simply nicer to kneel, stretch and move on. If you did lots of floor-based core work, yoga flows, warm-ups, mobility sessions or bodyweight circuits, a foam zone could make training more inviting. That matters. The perfect programme did not help much if the prospect of putting your knees on a freezing, unforgiving floor made you find a reason to skip it.
The safety credentials were also reassuring. Sprung's EVA foam tiles were certified non-toxic and free from formamide and phthalates. The interlocked surface was intended to stay flat without gaps for small fingers, and it could be wiped clean with soapy water. Those details made it a particularly sensible option for a room used by more than one member of the household, or a garage that had to perform double duty as a training space and family-friendly activity area.
EVA foam was not a heavy-lifting material. Dumbbells and loaded bars could permanently dent it. Use foam where your body meets the floor; use rubber beneath iron, racks and heavy equipment. That division was the whole game.
Pros
- Interlocking installation needed no glue, tools or tradesperson.
- 13mm to 40mm range covered light duty through more cushioned home use.
- Comfortable, warm-feeling option for yoga, HIIT, stretching and bodyweight work.
- Non-toxic foam was certified free of formamide and phthalates.
Cons
- Heavy dumbbells and loaded bars could leave permanent dents.
- It was the wrong surface under a rack or serious free-weight station.
- More cushioning was not automatically better for every exercise or equipment type.
There was no shame in buying foam, provided you bought it for foam's strengths. A garage gym did not have to look like a powerlifting club to be useful. Plenty of brilliant training happened with a set of adjustable dumbbells used carefully, a mat, bands and bodyweight work. The point was to protect the foam from the work it was not built for — and to protect your expectations from the idea that any interlocking mat could be universal.
6. ComFy Interlocking Foam Exercise Mats — Best for getting a simple home workout area running quickly
ComFy Interlocking Foam Exercise Mats were a straightforward UK-made option for anyone who wanted a quick, comfortable surface without overcomplicating the project. The tiles used EVA foam and measured 60cm × 60cm. That smaller format was particularly useful in garages with awkward shapes, support posts, storage cupboards or the usual collection of things that had allegedly been "temporarily" placed in the corner several years ago.
Smaller interlocking tiles could make it easier to build around obstacles or create a tidy rectangular exercise area in a space that was not remotely rectangular. For light exercise, flexibility and bodyweight work, that modularity was genuinely helpful. You could cover the patch where you trained, leave access to storage, and alter the arrangement later without treating the garage as a building site.
Like the Sprung EVA approach, ComFy mats belonged firmly in the comfort-led category. Their appeal was fast setup and a friendlier surface for exercise than cold concrete. Use them for mat-based training, stretching, yoga, bodyweight circuits and the kind of home sessions where you spend more time on hands, knees, elbows and back than you do moving a loaded barbell. They made sense when the floor needed to be approachable and adaptable.
They were not, however, the answer beneath heavy weights. This was worth repeating because foam's convenience tempted people into ambitious repurposing. A foam mat could be brilliant for a morning mobility routine and wholly unsuitable under a heavy dumbbell. Both things could be true at once. The sensible route was to keep the ComFy area as a distinct exercise zone and install rubber where heavier gear lived.
60cm × 60cm modular format
The square tile size made it practical to shape a small workout surface around storage, walls and the awkward dimensions common in UK garages.
Comfort-led training surface
EVA foam was suited to the floor-based side of fitness: stretching, yoga, bodyweight exercise and lighter workouts where cushioning mattered.
Fast home-gym setup
Interlocking foam was the practical answer when you wanted an exercise area up and running without turning installation into a major project.
Planning the garage floor: measure the training zone, not just the room
The most economical floor was rarely the one with the lowest initial price. It was the one you bought once because it fitted your actual footprint and training. Before choosing a tile, clear as much of the garage as possible and map the zone with tape. Start with the largest piece of equipment. A rack, bench or cardio machine established the obvious centre. Then mark the space required to load plates, adjust the bench, step off a treadmill, swing a kettlebell or lie down without brushing your head against a cupboard.
This was particularly important in a garage because walls were not always usable walls. One side may hold bikes. Another may need to remain clear for a boiler, door, fuse box or garden equipment. You might technically own a 3m-wide area but have only 2m of genuinely free training space. Better to discover that with tape than halfway through ordering flooring.
For a simple dumbbell-and-bench gym, a rubber rectangle under the bench plus standing room could be enough. For a rack, think not only about the rack's feet but the full working zone around it. For a lifting area, identify where the bar would land, not merely where the plates sat at rest. For yoga and mobility, prioritise enough length and width to move naturally. The aim was a floor that supported training rather than a beautiful patchwork that happened to be under some equipment.
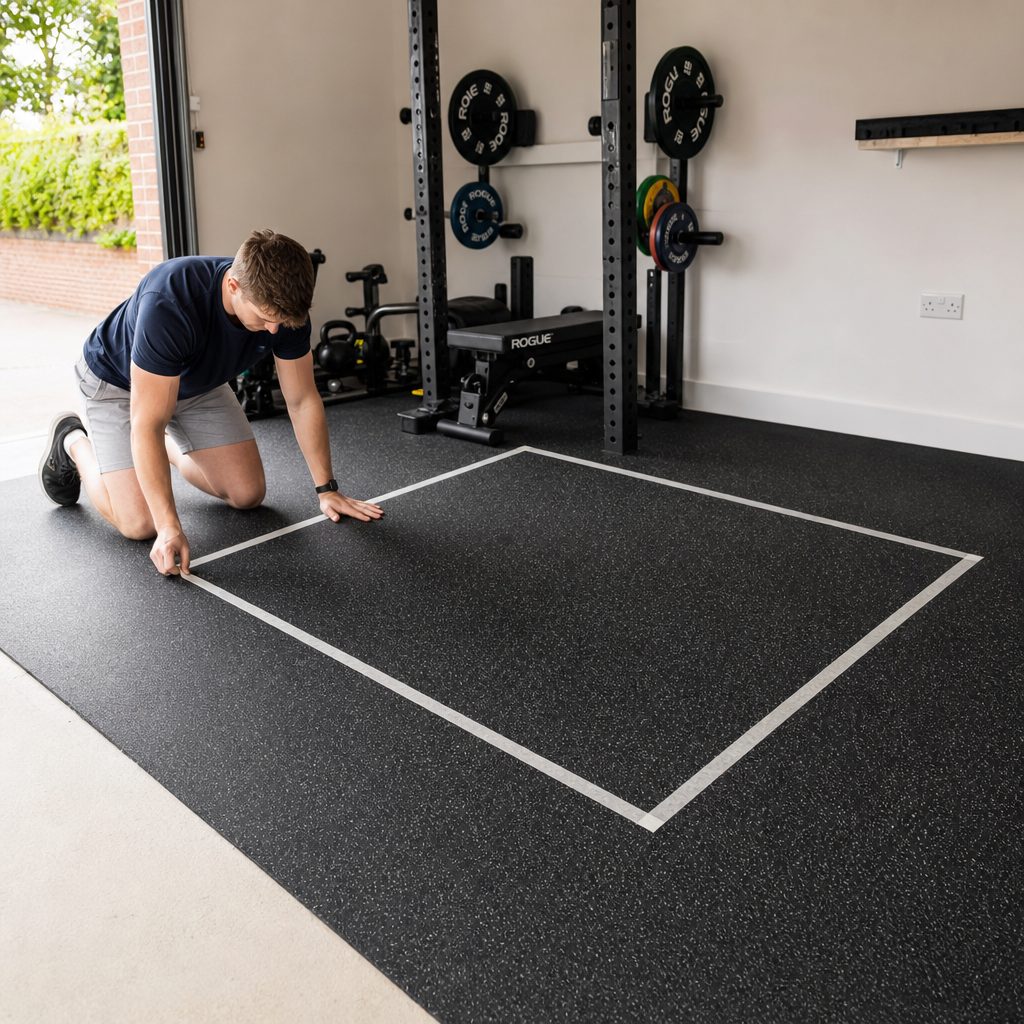
Marking a training footprint before installation helps prevent the classic garage-gym mistake: flooring a neat square that is just too small where it matters.
Measure the movement, not the machine
A bench's dimensions told you where the bench sat. They did not tell you where you stood to lift, where you walked between sets or where a dumbbell might be placed. Plan the usable training area around the equipment, not merely beneath it.
It was also sensible to decide whether your floor would be wall-to-wall or zoned. Wall-to-wall flooring looked cohesive and made a garage feel more like a studio. A zoned layout used less material, preserved access to storage and allowed different thicknesses in different areas. Neither was inherently superior. The better answer was the one that matched how the garage functioned on an ordinary Tuesday, not just in the first flush of gym-building enthusiasm.
Rubber versus EVA foam: the choice that determined everything else
If there was one decision to get right, it was material. Rubber and EVA foam could both arrive as interlocking tiles, both could make a cold garage more pleasant, and both could look suitably gym-like once installed. But they did not perform the same task.
Rubber was the strength-training material. High-density natural or recycled rubber was designed to protect sub-floors from equipment weight and impact, create a non-slip surface, reduce vibration and noise, and improve comfort. It suited racks, benches, dumbbells, kettlebells and cardio equipment. It was durable, weighty and much more appropriate when iron was involved. Rubber flooring made sense where stability and impact tolerance mattered more than a soft feel under the knees.
EVA foam was the comfort material. It was lighter, warmer underfoot and friendlier for bodyweight sessions, yoga and stretching. It was quick to handle and install. In the right setting, that was not a compromise at all; it was the better experience. A bodyweight circuit on cold rubber could be tolerable, but a foam surface made floor work more comfortable and approachable.
The dividing line appeared when weights entered the room. Foam could permanently dent under dumbbells and loaded bars. That was the clear limitation, and it should be taken literally. A rack did not become suitable for EVA just because it was used carefully. A loaded bench did not become a light-duty item because you were not dropping it. The material underneath needed to match the load above it.
| Question | Rubber flooring | EVA foam flooring |
|---|---|---|
| Best training style | Strength training, equipment use and regular free-weight work | Yoga, stretching, HIIT and bodyweight exercise |
| Comfort under knees and body | More supportive and firm | More cushioned and warm-feeling |
| Heavy dumbbells and bars | Appropriate material for protecting the floor beneath equipment | Can permanently dent under heavy weights |
| Garage vibration and noise | Helps minimise sound and vibration | Best treated as a comfort surface rather than an impact solution |
| Typical thickness guidance | 11mm and 15mm light duty; 20mm all-round; 30mm and 43mm+ lifting zones | 13mm light duty; 20mm all-round for bodyweight, yoga and play |
| Installation approach | Tiles can create a substantial defined equipment zone | Light interlocking tiles can be handled easily and fitted without glue |
The best combined setup was often wonderfully uncontroversial: rubber beneath equipment and foam in the open area where you warmed up, stretched or trained without loading the floor. It was not glamorous advice, but it was the advice that kept both surfaces doing their intended jobs for longer.
Noise, vibration and the realities of training above concrete
One reason flooring mattered so much in a UK garage was that concrete had no interest whatsoever in making your training more pleasant. It was hard, cold and very happy to transmit impact. Rubber helped reduce both noise and vibration, which could make a useful difference whether the garage was attached to the house, close to a neighbour or simply a place where you would prefer not to hear every kettlebell placement echoed back at you.
It was important to be realistic here. Flooring could reduce vibration and sound. It did not make repeated barbell drops silent, nor did it turn a garage into an acoustic bunker. If your style of training involved deliberate repeated drops, you still needed the appropriate thickness, a properly planned lifting zone and consideration for the surrounding building. Flooring was an important part of managing impact, not a magical absolution for it.
Thicker rubber made more sense where the consequences of impact were higher. That was why 30mm and 43mm-plus tiles belonged in lifting zones. The goal was to give the dropped implement and floor more protective material between them. A 20mm all-round surface remained sensible for the broad middle of garage strength training, particularly when most weights were set down with control. The honest answer to "what thickness do I need?" was therefore always another question: "What are you going to do on it?"
There was another quiet benefit: insulation. Rubber helped insulate the garage space. That did not replace heating, of course, but it did change the immediate experience underfoot. On a cold morning, the difference between standing on rubber and standing directly on concrete was not subtle. You were more likely to take your shoes off for mobility work, get onto the floor for a core circuit, or simply spend time in the room without feeling as though you had wandered into a refrigerated warehouse.
Best-for awards: which flooring should you actually buy?
Buying guides can become very earnest about rankings, as though there were one correct answer for every household. There was not. The best flooring was the one that met the demands of your particular garage and training style. These were the clearest recommendations by buyer type.
Best all-rounder
Bulldog Gear 20mm Laminated Performance Tile. Its 20mm thickness sat in the broad sweet spot for regular strength work, racks, benches, dumbbells, kettlebells and cardio equipment.
Best for heavy lifting
Bulldog Gear 30mm Laminated Performance Tile. Choose it for a focused zone where repeated drops, Olympic lifting or CrossFit-style impact were part of the plan.
Best durable gym foundation
GymGuard Rubber Gym Mats. A strong pick for a fully equipped strength space, with stated Floor Load Density of 1 tonne/m³ and surface density of 1000kg per sq.m.
Best for yoga and mobility
Sprung Gym Flooring EVA Foam Tiles. The 20mm EVA option suited bodyweight work, yoga and play where comfort and warmth mattered.
Best quick setup
ComFy Interlocking Foam Exercise Mats. The 60cm × 60cm EVA tiles suited small, adaptable exercise spaces that needed to come together quickly.
Best compact coverage
Bulldog Gear Morphic Gym Tile. The 1m × 1m × 18mm format was easy to plan around a modest equipment footprint, and the tiles are sold individually.
Installation and layout mistakes worth avoiding
The best flooring could still disappoint if it was laid without a plan. The most common error was buying only enough material for the equipment itself. A rack footprint was not a rack training area. A bench footprint was not a bench training area. If you could only just stand next to the bench, turn around or load a bar without stepping off the flooring, the space would feel cramped and the floor would not be protecting the place where you actually worked.
Another mistake was using a comfort mat as a weight mat. It happened because EVA looked substantial when new and interlocked neatly. But visual thickness was not the same as suitability under heavy loads. If dumbbells and loaded bars could dent foam permanently, then the correct decision was to move them to rubber — not to hope that your particular dumbbells had kinder intentions than everyone else's.
Be deliberate about transitions. If you were installing a thicker surface in only part of the garage, ramped edges could make the boundary cleaner and more manageable. This was especially relevant for the 30mm Bulldog Gear performance tile, where ramped edges were available. A finished edge was easier to step over, easier to see and less likely to make the room feel as though someone had simply dropped a platform in the middle and walked away.
Finally, leave yourself some flexibility. Interlocking tiles were attractive because they allowed a floor to evolve. Your first layout might be a small dumbbell zone. Later, you might add a bench, a rack or a cardio machine. A modular surface gave you options. The sensible approach was to buy for the setup you genuinely intended to use now, but choose a system that did not make future changes absurdly difficult.
Plan standing room
Cover the area where you load, lift, walk and set equipment down — not merely the outline of the machine or bench.
Use different zones intelligently
A 20mm general rubber area, thicker lifting section and foam mobility corner could be more effective than one uniform material everywhere.
Think about the edge
Where flooring met bare concrete, a ramped transition could make a thick performance surface more practical in a shared garage.
Frequently asked questions
For most garage gyms, yes. Twenty-millimetre rubber was the all-round recommendation for regular strength training with dumbbells, kettlebells, racks, benches and cardio equipment. If your training involved repeated drops, Olympic lifting or a dedicated CrossFit-style impact zone, 30mm or 43mm-plus flooring was the more appropriate category.
EVA foam was the wrong choice beneath heavy weights and equipment. Loaded bars and dumbbells could permanently dent foam, so a rack belonged on rubber flooring designed to protect the sub-floor from equipment weight and impact. Reserve foam for yoga, stretching, bodyweight work and comfort-led areas.
For light equipment, benches, stretching and general floor protection, 11mm or 15mm rubber could be suitable. If the area would also host regular dumbbell or kettlebell strength training, moving to 20mm gave a more broadly capable garage-gym surface.
Yes, particularly when you need a modular layout. Interlocking tiles let you cover a defined training area, build around garage storage and adapt later. Bulldog Gear's laminated performance tiles used an integrated connection system designed to stop the smaller 0.5m sections moving in use, addressing a common concern with loose mats.
Rubber flooring helped insulate a garage space compared with standing directly on concrete. It was not a replacement for heating, but it made the training surface less cold underfoot and generally more comfortable for floor-based work.
Interlocking EVA foam was the better material for yoga, stretching, HIIT and bodyweight training, where cushioning and warmth mattered. Sprung's 20mm EVA foam was the all-round option for bodyweight training, yoga and play. Do not place heavy free weights on it.
No. A zoned layout was often the more practical solution. Cover the active training footprint and keep access routes or storage areas clear. You can use thicker rubber in the lifting zone, 20mm rubber around equipment and foam where you stretch. This usually matched real garage use better than a one-material, wall-to-wall approach.
GymGuard mats were specified with a Floor Load Density of 1 tonne/m³ and a surface density of 1000kg per sq.m. Combined with high-density rubber construction and thickness options up to 43mm-plus for impact areas, that made them especially suited to fully equipped professional fitness areas and substantial garage gyms.
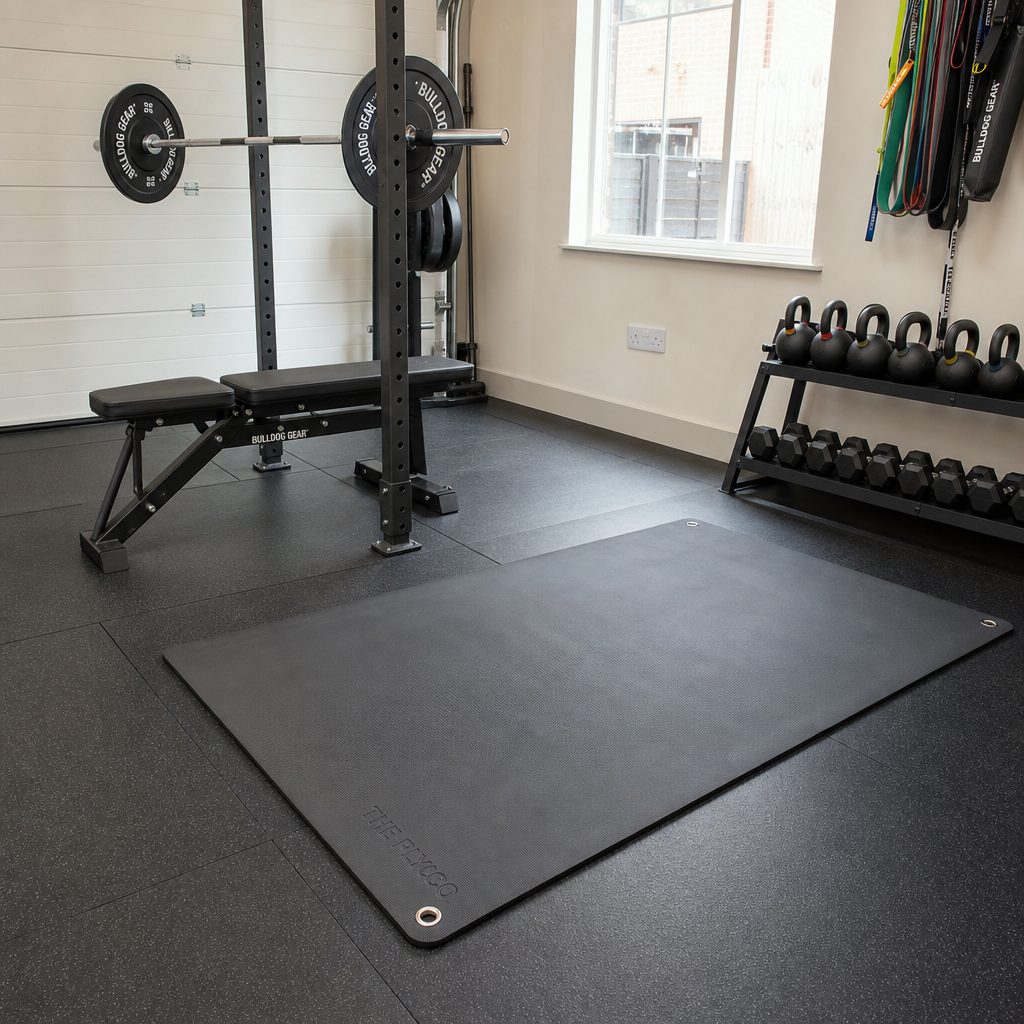
The finished garage gym need not be extravagant; the right flooring simply gives every part of the space a clear job and a more comfortable place to train.
The bottom line
For a typical UK garage gym with free weights, a bench, a rack and regular training, 20mm rubber flooring was the sensible foundation, with the Bulldog Gear 20mm Laminated Performance Tile the neatest all-round pick. Build a dedicated impact area? Step up to the Bulldog Gear 30mm Laminated Performance Tile or thicker rubber flooring. Want a durable strength-room base with serious density credentials? GymGuard Rubber Gym Mats were the standout. And if your training was yoga, mobility, HIIT and bodyweight work, choose EVA foam from Sprung or ComFy — then keep the heavy iron somewhere else. Flooring was not the flashy purchase, but it was the one that made the whole gym work better.
Shop Best home gym flooring and exercise mats for a UK garage gym on Amazon UK